
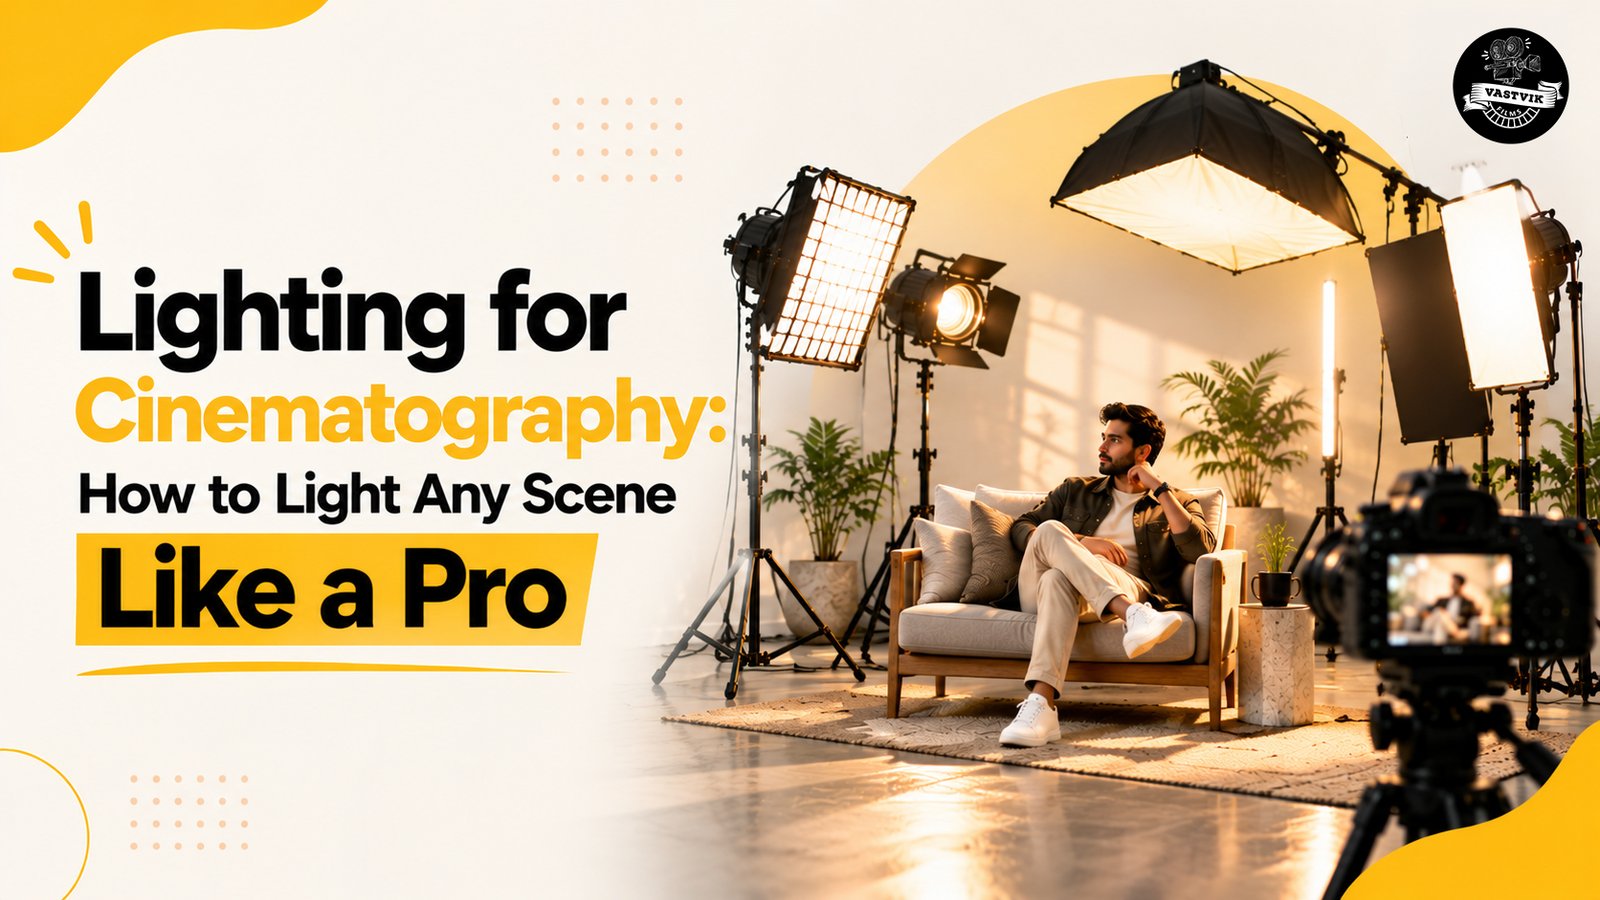
Lighting for Cinematography: How to Light Any Scene Like a Pro
A good camera can capture a beautiful image, but lighting is often what makes that image feel cinematic.
The same room can look warm and welcoming, dark and mysterious, clean and commercial, or dramatic simply by changing the light. That is why lighting for cinematography is not just about making a subject visible. It is about deciding what the audience should see, where they should look and how the scene should feel. You also don’t always need a huge lighting setup. Understanding a few basics can make a bigger difference than simply adding more lights.
Here’s a practical guide to lighting a scene.
Start With the Mood, Not the Equipment
Before placing a light, ask one simple question:
What should this scene feel like?
A corporate interview may need soft, clean lighting. A product commercial might need controlled highlights and stronger separation. An emotional scene may look better with shadows and lower contrast.
Lighting affects how viewers read a scene emotionally, which is why cinematographers use it as part of the storytelling rather than treating it only as a technical requirement. Once the mood is clear, choosing the lights becomes much easier.
1. Understand the Key Light
The key light is your main source of light.
It usually has the biggest influence on how the subject looks. Changing its position can completely change the face, shadows and mood of a shot. Instead of placing the key directly in front of your subject, try moving it slightly to one side. This creates shape on the face rather than making everything look flat. You can also move it higher, lower or further to the side depending on the mood you want. For softer cinematic lighting, use diffusion or bounce the light from a white surface instead of pointing a harsh source directly at the subject.
2. Use Fill Light to Control Shadows
Once the key light is set, look at the darker side of your subject.
Do you want those shadows to stay?
If they are too dark, add a fill light. The fill is normally softer and less powerful than the key. Its job is not to remove every shadow but to control how much detail remains in them. For a clean commercial or corporate look, you might use more fill. For a dramatic scene, you can reduce the fill and allow deeper shadows.
Sometimes you don’t need another lamp at all. A white reflector or bounce board can be enough.
3. Add a Backlight for Depth
Ever wondered why some professionally shot scenes seem to have more depth?
A backlight can be one reason. It comes from behind the subject and can create a subtle edge around the hair, shoulders or body. This helps separate the subject from the background and prevents the image from looking flat.
The effect doesn’t need to be obvious. A small amount of separation can make the frame feel much more polished.
4. Learn the Three-Point Lighting Setup
One of the easiest ways to understand lighting for cinematography is the classic three-point setup:
Key light → main source
Fill light → controls shadows
Backlight → separates the subject from the background
You don’t have to use all three lights in every shot. The real value of this setup is understanding what each light is doing. Once you understand that, you can remove lights, replace them with natural sources or change their positions to create your own look. This approach is commonly used to create depth and control how a subject appears within the frame.
5. Soft Light vs Hard Light
Not every light should look the same.
Soft light creates smoother transitions between highlights and shadows. It often works well for interviews, beauty shots, lifestyle videos and softer commercial scenes.
Hard light creates stronger, sharper shadows. It can work well when you want drama, tension or a more stylised look.
A larger light source relative to the subject generally creates softer shadows, while a smaller source creates harder ones. Neither one is automatically better. The right choice depends on the scene.
6. Don’t Ignore Natural Light
Sunlight is free, powerful and sometimes exactly what a scene needs. A window can become your key light. A curtain can act as diffusion. A white wall or reflector can bounce light back onto the subject. But natural light changes throughout the day. If you’re shooting several shots that need to match, keep an eye on the direction and intensity of the sunlight. A scene shot at 10 AM may look very different when you return to it at 3 PM. For professional productions, this is one reason location planning and shoot scheduling matter so much.
If you’re planning an outdoor production, our guide to the best locations for shoots in Delhi NCR also covers practical factors to consider before selecting a location.
7. Use Practical Lights Already in the Scene
Lamps, bulbs, signs, candles and other visible sources within the frame are often called practical lights.
Don’t treat them only as decoration. They can help establish where the light in a scene appears to be coming from. For example, if there is a warm table lamp visible behind an actor, you can position another light outside the frame to imitate or strengthen that direction. This can make cinematic lighting feel more natural instead of looking like the subject is standing inside a studio setup.
8. Think About the Background Too
A common beginner mistake is spending all the time lighting the subject while forgetting the background. Look at the whole frame. Is the subject wearing dark clothes against a dark wall? Is there an unwanted bright area pulling attention away? Does the background need a little separation?
Sometimes moving a lamp or reducing one bright spot in the background improves the shot more than adding another light to the actor. This is especially important in commercial filmmaking, where every part of the frame contributes to how polished the final video feels. You can see different approaches to commercial visuals in the Vastvik Films portfolio.
9. Pay Attention to Colour Temperature
Not every light has the same colour. Daylight may appear cooler, while many indoor bulbs look warmer. Mixing them without a reason can make skin tones and backgrounds look strange.
Before shooting, check the main sources in the room and set your camera’s white balance accordingly. You can mix warm and cool light creatively, but it should feel intentional. For example, a warm lamp in the background combined with a cooler source through a window can create depth and atmosphere.
10. Don’t Try to Fix Everything in Post
Colour grading can improve a well-shot image. It cannot completely rescue poor lighting.
Overexposed faces, unwanted shadows or badly mixed light sources can create problems that are difficult to fix later. Try to get the basic exposure, contrast and skin tones right while shooting. Then use colour correction and grading to refine the look. If you want to understand that stage better, our guide to practical colour grading with LUTs explains how LUTs can fit into a faster post-production workflow.
A Simple Lighting Checklist Before You Shoot
Before pressing record, quickly check:
- • Where is the main light coming from?
- • Does the lighting match the mood?
- • Are the shadows intentional?
- • Is the subject separated from the background?
- • Are there distracting bright areas?
- • Do the skin tones look natural?
- • Are different light colours working together?
- • Will the lighting remain consistent between shots?
You don’t need ten lights to make a scene look professional. You need to know why each light is there.
Final Thoughts
Learning lighting for cinematography is less about memorising setups and more about learning to see light. Start by observing where the natural light is coming from. Decide what mood you want. Set your key light, control the shadows and then add only what the scene actually needs. Sometimes that might mean three lights. Sometimes it might mean one window and a reflector. The goal isn’t to make every shot bright. The goal is to use light and shadow to support the story.
At Vastvik Films, lighting is planned according to the visual style, location and purpose of each production rather than applying the same setup to every shoot. For filmmakers who want to go deeper into professional techniques, the ARRI Lighting Handbook provides practical lighting examples and guidance for studio and location work.