
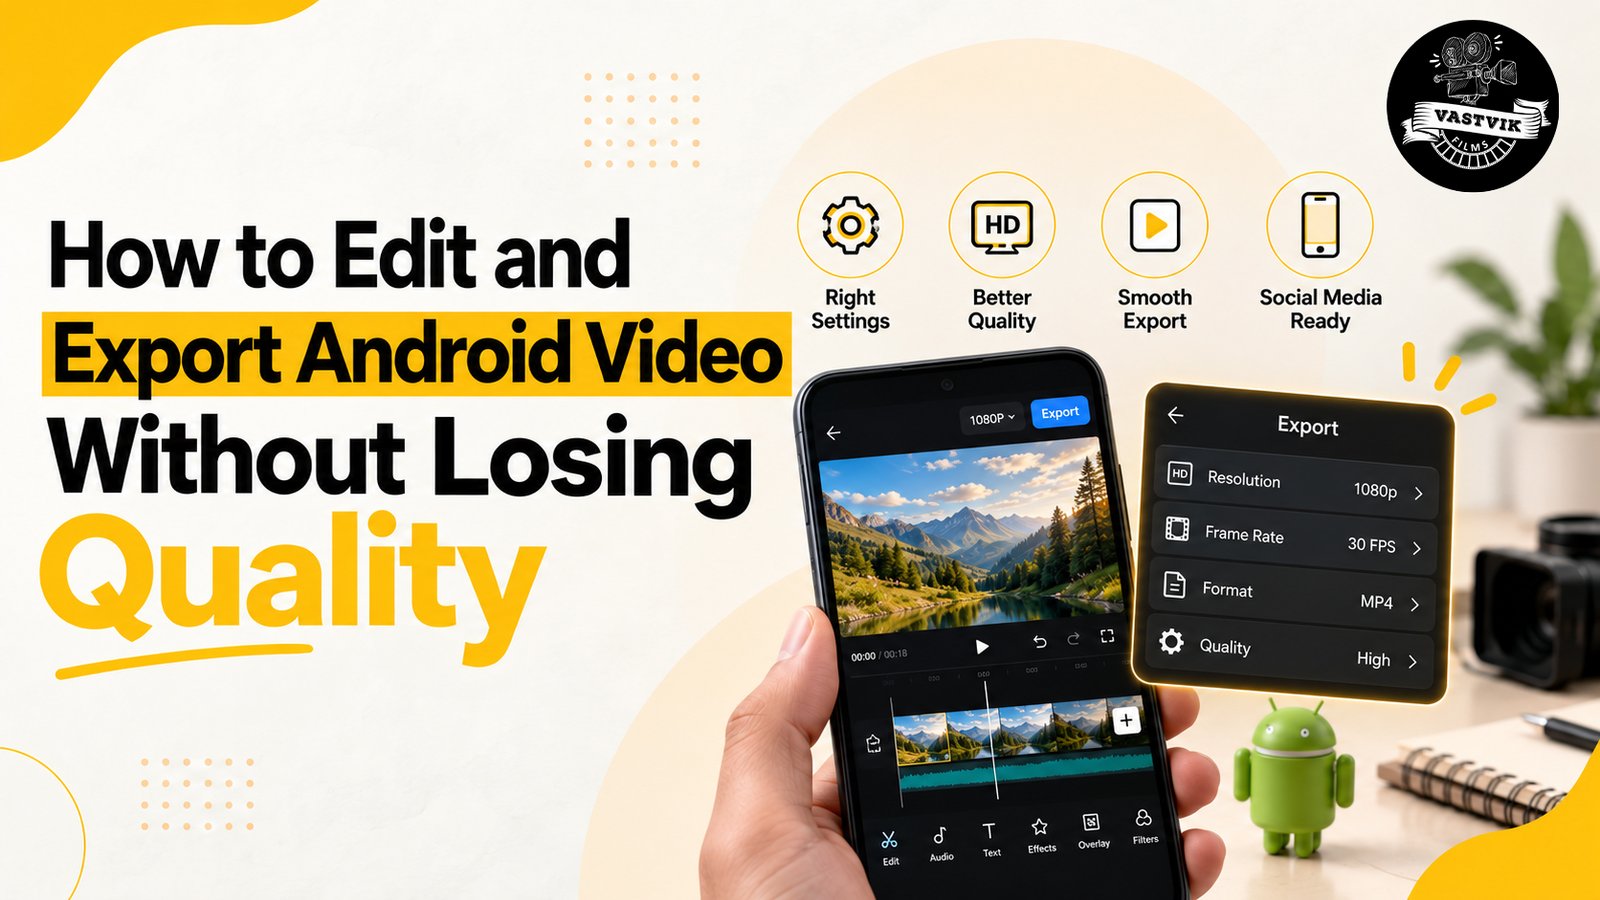
How to Edit and Export In Android Without Losing Quality
Editing videos on an Android phone has become much easier. Apps like CapCut, VN, InShot and KineMaster can handle everything from simple cuts to colour correction, transitions and effects. But there is one common problem: the video looks great while editing, but loses quality after export. Sometimes the video becomes blurry. Fine details disappear, colours look different, or the final file does not look as sharp as the original footage. The good news is that you usually don’t need a new phone or a more expensive editing app. You just need to understand a few basic settings to Export on Android Without Losing Quality.
Why Does Video Quality Drop After Export?
Before changing your export settings, it helps to understand why quality drops. When you export a video, the editing app compresses the footage to create a new video file. Some compression is necessary because completely uncompressed video files can be extremely large. The problem starts when the video is compressed too much.
Quality can also drop because of:
- ● Exporting at a lower resolution
- ● Choosing a low bitrate
- ● Changing the original frame rate
- ● Exporting the same video multiple times
- ● Using heavily compressed source footage
- ● Applying too much sharpening or other effects
- ● Social media platforms compressing the uploaded video again
The goal is not to avoid compression completely. It is to find the right balance between video quality and file size.
1. Start With Good-Quality Footage
Export settings cannot fully fix poor source footage. If your original clip is blurry, heavily compressed or recorded in very low light, exporting it at 4K will not suddenly make it a high-quality 4K video. Whenever possible, record at the highest practical quality your phone supports. Also check your camera settings before an important shoot. If you want your final video to be 1080p, recording at 1080p or higher gives you more flexibility during editing. Professional production works the same way. Good post-production starts with properly planned and captured footage. At Vastvik Films, our video production services cover the complete process from production to the final video output.
2. Keep Your Project Resolution Consistent
One of the easiest ways to protect video quality on Android is to avoid unnecessary resolution changes. If you want to Export on Android Without Losing Quality, keeping your editing and export resolution consistent is a good place to start. For example, if your original footage is 1080p, editing and exporting at 1080p usually makes more sense than reducing it to 720p and later trying to convert it back to 1080p. Similarly, exporting a 1080p recording in 4K does not create real additional detail.
A simple rule is:
Keep the export resolution the same as your original footage unless you have a specific reason to change it. For most social media and everyday videos, 1080p is a practical choice.
3. Don’t Ignore the Bitrate
Resolution gets most of the attention, but bitrate also has a major effect on how your exported video looks. Bitrate is basically the amount of video data used for each second of footage. Choosing the right bitrate is especially important when you want to Export on Android Without Losing Quality while still keeping the final file size manageable.
A very low bitrate creates a smaller file, but it can also introduce:
- ● Blurry details
- ● Blocky areas
- ● Poor-looking movement
- ● Loss of texture
- ● Visible compression
On the other hand, an extremely high bitrate creates a much larger file without always producing a noticeable improvement. Instead of automatically selecting the lowest file-size option, choose a high-quality or recommended bitrate that suits your resolution.
4. Match the Original Frame Rate
If you recorded your video at 30 fps, you usually don’t need to export it at 60 fps. Changing the frame rate during export does not magically make the original footage smoother.
As a general approach:
30 fps footage → export at 30 fps
60 fps footage → export at 60 fps
There can be creative exceptions, especially when working with slow motion, but keeping the frame rate consistent helps avoid unnecessary processing.
5. Choose the Right Video Format and Codec
For most Android users, MP4 with H.264 remains a practical export option because it offers a good balance between quality, compatibility and file size. Some phones and editing apps also support H.265/HEVC. It can provide efficient compression, but compatibility can vary depending on where you plan to upload, send or play the video. If you are unsure, MP4/H.264 is generally the safer option.
6. Avoid Exporting the Same Video Again and Again
This is an easy mistake to make. You export a video from one app, import that exported file into another app, make another change, export it again and repeat the process. Every new compression cycle can potentially reduce quality. Instead, try to complete as much of the edit as possible within your main project and export the final version once. If you need different versions, create them from the original editing project rather than repeatedly editing an already exported file. This becomes even more important in professional work, where one master video may need several different deliverables. Our approach to documentary and film production also involves planning the production and post-production workflow around the final output requirements.
7. Be Careful With Filters and Sharpening
More effects do not always mean a better-looking video. Heavy sharpening can make faces and objects look unnatural. Too much noise reduction can remove fine details, while aggressive filters can affect skin tones and colours. Make smaller adjustments and regularly compare your edited footage with the original. Good editing should improve the footage without making the processing obvious.
8. Check Your Video Before Uploading It
Your exported file and your uploaded social media video are not always going to look identical. Instagram, YouTube and other platforms may compress videos after upload. Before blaming your editing app, play the exported file directly from your phone’s gallery. Zoom in and check details, text, movement and colours. If the gallery version looks sharp but the uploaded version looks worse, the quality loss may be happening during the platform’s compression process.
9. Use the Right Settings for the Final Platform
Before editing, ask one important question:
Where will this video be used?
A vertical Instagram Reel, a YouTube video, a website video and a corporate film can all require different dimensions and delivery settings. This is also why professional editors usually decide the final formats before starting the export process. For brands working with a corporate video production Mumbai team or an ad film production house in Mumbai, discussing deliverables before the shoot can save a lot of unnecessary resizing, cropping and re-exporting later.
You can see examples of different commercial and branded video formats in the Vastvik Films portfolio.
Recommended Video Export Settings
If your goal is to Export on Android Without Losing Quality, there is no single perfect setting for every video, but this is a useful starting point for most Android edits:
| Setting | Recommended Starting Point |
|---|---|
| Resolution | Same as original, usually 1080p or 4K |
| Frame Rate | Match the original footage |
| Format | MP4 |
| Codec | H.264 for broad compatibility |
| Bitrate | High-quality/recommended setting |
| Aspect Ratio | Based on the final platform |
| Audio | High-quality AAC if available |
Always consider the original footage and final platform before changing these settings.
Common Video Export Mistakes
Avoid these common mistakes if you want to maintain video quality:
- ● Exporting 1080p footage at 720p
- ● Using the lowest bitrate just to reduce file size
- ● Converting 30 fps footage to 60 fps unnecessarily
- ● Exporting and re-editing compressed files
- ● Applying too much sharpening
- ● Upscaling low-resolution footage and expecting more detail
- ● Ignoring the final platform’s aspect ratio
- ● Starting with low-quality downloaded or forwarded footage
Final Thoughts
Learning how to export on Android without losing quality is mostly about keeping your workflow consistent. Start with good footage, maintain the original resolution and frame rate, choose an appropriate bitrate and avoid unnecessary re-exports. You don’t always need the highest possible export setting. You need the right setting for your original footage and where the final video will be used.