
Ambient Sound Design for Video: How to Layer Background Audio So a Scene Feels Real
Mute any scene in your video, and it can still look beautiful. Now play only the dialogue with no background sound, and it suddenly feels like it was recorded inside a cupboard. That gap between a good-looking shot and a believable one is ambient sound design.
At Vastvik Films, we treat background audio as the part of the edit that the audience should never notice but would instantly miss. This guide explains how we think about it, with a simple method you can use in any editor, plus examples from Indian locations that most international guides ignore.
What Is Ambient Sound Design?
Ambient sound design is the process of building the sonic world around your dialogue during post-production. Instead of leaving the scene in silence, you add layers of background audio so the viewer feels they are standing in a real place.
Three terms come up again and again:
- ● Room tone: the quiet “sound of silence” of a location, recorded on set. It fills the gaps between dialogue so edits do not jump.
- ● Ambience: the continuous sounds of an environment, such as traffic, wind, a ceiling fan or a distant crowd.
- ● Spot effects: single, deliberate sounds placed at exact moments, such as a door closing or a scooter passing.
Why Silence Breaks a Scene
Our ears expect every space to make some noise. When a scene has none, the brain registers something is off, even if the viewer cannot explain why. Good ambience does three jobs quietly:
- ● It tells the audience where they are.
- ● It hints at how they should feel (calm, tense, busy, lonely).
- ● It hides edits by keeping a steady tone under the dialogue.
The Near-Mid-Far Method
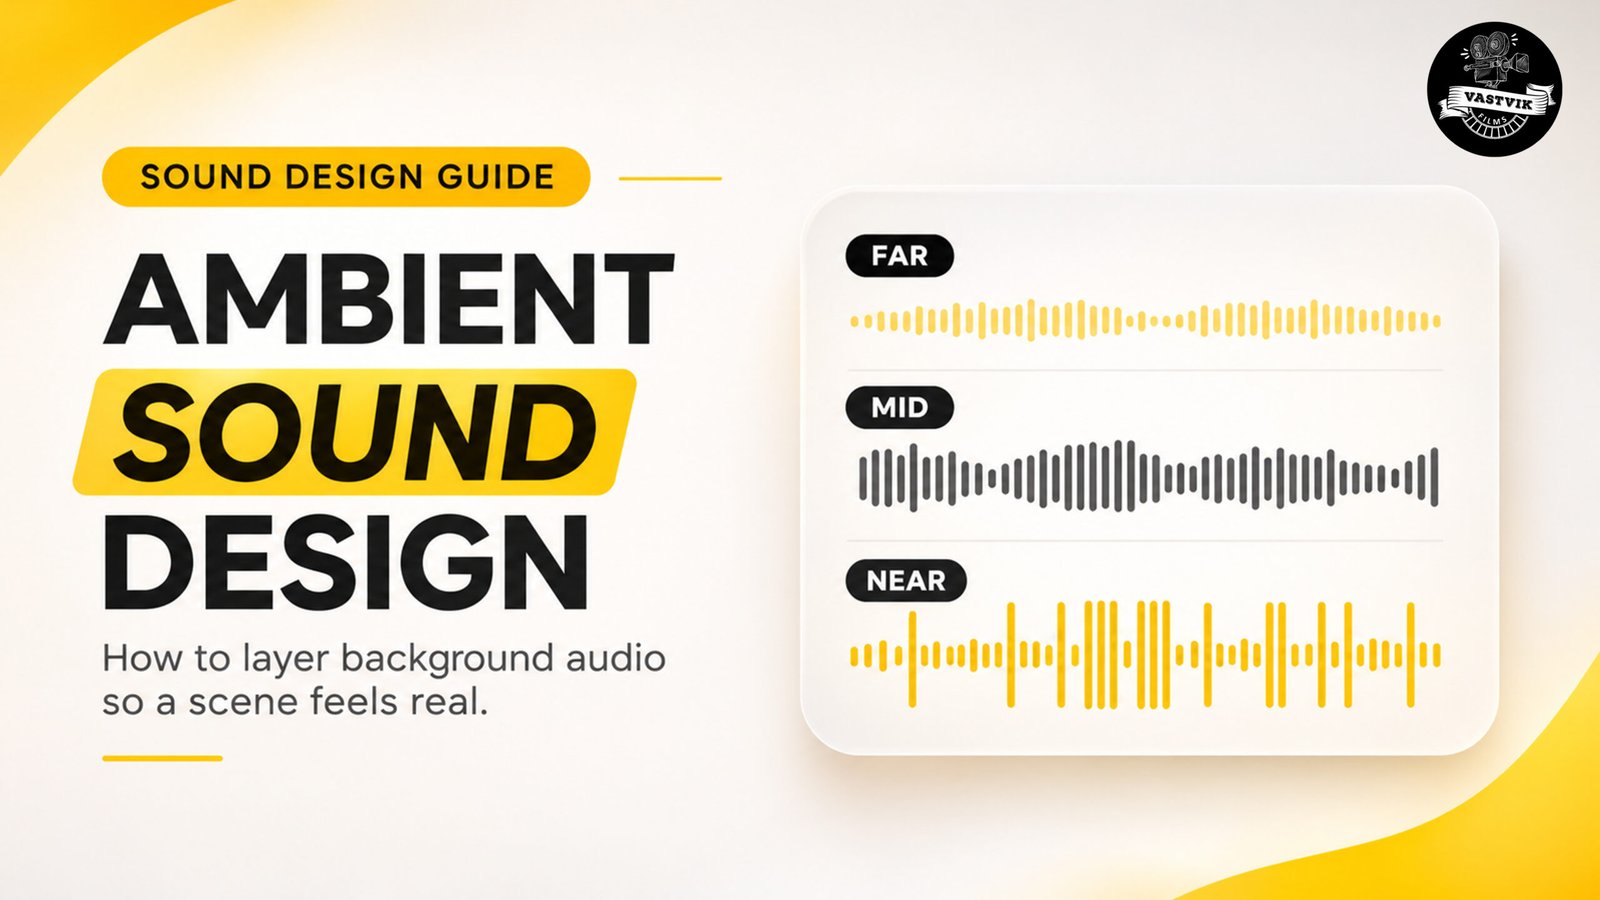
Most guides talk about “beds” and “effects.” We find it easier to think in distance. Every believable scene has sounds at three distances from the viewer:
| Layer | What it is | Examples | How it sits in the mix |
| Near | Sounds within arm’s reach of the character | Clothes rustling, chair creak, cup on a table, footsteps | Small, precise, dry, placed in dialogue gaps |
| Mid | The sound of the room or space itself | Ceiling fan, AC hum, office chatter through glass, kitchen noise | Steady, soft, slightly reverberant |
| Far | The world outside the space | Traffic, birds, trains, construction, distant music | Wide, low-level, with high frequencies rolled off |
If your scene sounds flat, one of these three distances is usually missing. Most beginners add only the far layer (a traffic loop) and wonder why it still feels fake.
How to Layer Ambient Sound: Step by Step
Step 1: Record 60 seconds of room tone on set
Before the crew packs up, ask everyone to stay quiet and record at least a minute of the location’s silence. This one habit saves more edits than any plugin. If you could not record it, you will have to rebuild a matching tone later.
Step 2: Fill the gaps with room tone
Place the room tone under the dialogue so there are no dead-silent holes between lines. Match it to the voice recording. If the dialogue sounds boxy, the tone should too.
Step 3: Add the far layer
Choose one or two long background sounds that match the place, time of day and season. Keep them wide in stereo and low in volume. Cut high frequencies slightly so they sound distant.
Step 4: Add the mid layer
This is the sound of the room. A fan, a distant generator, an office hum. It should be so soft that you only notice it when you mute it.
Step 5: Place near sounds and spot effects
Watch the picture and add small sounds tied to what you see. Place them in the pauses between dialogue so they never fight the voice. Fade every clip in and out so nothing pops.
Step 6: Mix and test
- ● Level: background audio should be felt, not noticed.
- ● EQ: cut low rumble from background layers and make a little space where the voice lives.
- ● Panning: keep dialogue and room tone centred, spread far layers wider.
- ● Reverb: a small room needs very little, a large hall needs more. Tuck the level back down after adding it.
- ● Ducking: lower the ambience slightly when someone speaks.
Two quick tests we use:
- ● The subtract test: mute your ambience for five seconds. If the scene suddenly feels empty, your layers are working.
- ● The “what was that?” test: if a viewer would turn and ask what a sound was, it is too loud or too distinctive.
Ambient Sounds for Indian Locations
Most tutorials assume Western locations. Indian scenes have their own sound signatures, and getting them right makes your video feel local and authentic.
| Location | Far layer | Mid layer | Near / spot effects |
| Busy city street (Mumbai style) | Dense traffic wash, distant train rumble | Shop and street activity | Auto-rickshaw horn, vendor call, scooter pass |
| Quiet residential sector (Chandigarh style) | Light breeze, distant traffic | Calm outdoor air | Birds, a gate closing, a bicycle bell |
| Home interior, daytime | Muffled street sounds | Ceiling fan, kitchen hum | Pressure cooker whistle, utensils, a door latch |
| Corporate office | Faint city hum | AC air, low electrical tone | Keyboard clicks, phone buzz, muffled voices through glass |
| Factory or manufacturing unit | Machinery wash | Motor drone, compressor | Tool clank, conveyor, forklift beep |
| Monsoon evening | Steady rain, thunder in the distance | Water dripping, wet road traffic | Umbrella, splashes, a closing window |
| Wedding or event venue | Crowd murmur, distant music | Hall reverb tone | Glasses, laughter, footsteps on tiles |
Tip: do not use sounds that conflict with the story. A summer cicada loop in a monsoon scene, or a rain bed in a dry-season shot, is the kind of detail local viewers notice immediately.
Mixing Ambience on a Budget (Without a Studio)
Professional mixers use calibrated rooms, but most editors work with headphones and a laptop. A realistic workflow:
- ● Mix with decent closed-back headphones, then take breaks so your ears reset.
- ● Check on a phone speaker and a pair of cheap earbuds. If the dialogue stays clear on all three, you are close.
- ● Compare against a reference video from a professionally produced film or ad in a similar setting.
- ● Use a loudness meter. Most platforms adjust loud audio downward, so crushing your mix to be louder does not help you.
Common Mistakes to Avoid
- ● Using a single looping track as “the ambience.”
- ● Hard loop points that create an audible pulse. Crossfade every repeat.
- ● Background sounds louder than the dialogue.
- ● Wrong season, time of day or location sounds.
- ● Over-filling quiet, emotional moments. Sometimes silence is the right choice.
- ● Ignoring the production audio. If the added tone does not match the on-set sound, the scene feels stitched together.
Quick Checklist
- ● Room tone recorded on set (60 seconds)
- ● Dialogue gaps filled
- ● Far, mid and near layers all present
- ● Spot effects placed in dialogue pauses
- ● Loops crossfaded
- ● EQ, panning and reverb checked
- ● Tested on headphones, phone speaker and earbuds
Frequently Asked Questions
● How many layers of ambient sound does a scene need? Usually three to five: one room tone, one far layer, one mid layer, and a few near sounds. Simple dialogue scenes can work with fewer, but one layer is rarely convincing.
● What is the difference between room tone and ambience? Room tone is the quiet sound of the actual location, recorded on set, used to smooth dialogue. Ambience is the extra environmental sound you add in post to build the world.
● How loud should background audio be? Loud enough to feel present, quiet enough that it never competes with the voice. Judge it by ear and test on multiple speakers.
● Can I do ambient sound design in Premiere Pro or DaVinci Resolve? Yes. Both let you layer tracks and apply volume, EQ, panning and reverb. The method stays the same in any editor.
● Where can I find ambient sounds? Record your own on location, use on-set room tone, or use a licensed sound library. Always check the license before using sounds in client work.
Final Thoughts
Great ambient sound design is mostly restraint. Think in distance, match the place and season, and keep everything just below the point where the audience notices it. Do that, and your visuals will not only look good, but they will also feel real.
Want your next video to look and sound this good? Vastvik Films is a video production house, and sound design is just one part of what we do. Whether you are in Mumbai, Chandigarh or anywhere else in India, our team can help with:
- ● AI videos
- ● Content marketing videos
- ● TV and digital ad films
- ● Documentary and film production
- ● Product photography and videos
- ● UGC and influencer videos
- ● Real estate videos
- ● Corporate videos
Tell us about your project, and we will suggest the right approach, timeline and budget.